How to Create and Configure a Project in CRM (925 worksuite ERP)
Overview
This guide explains how to create a new project and configure its details in the CRM. Projects are used to manage client work, track progress, and organize deliverables after a lead has been converted to a client.
Steps
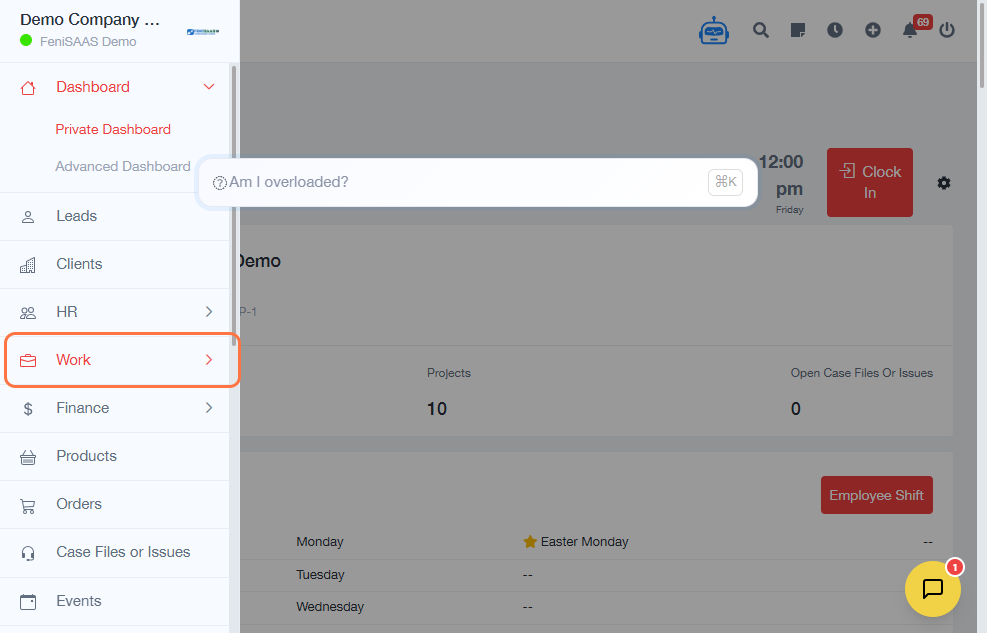
- Navigate to the Dashboard.
- Click on Work.
- Select Projects.
- Click Add Project.
-
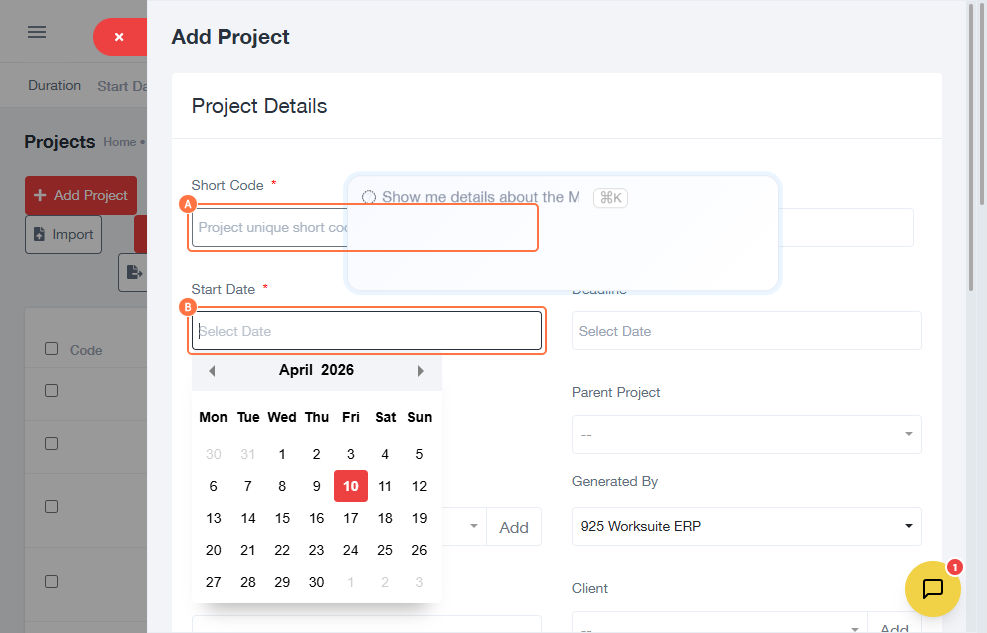
Enter the required project details:
- Short Code – Unique identifier for the project
- Deadline – Set the project due date
- Select any additional required options.
- Click Add.
- Click Save to create the project.
- Open the newly created project.
- Click the (+ icon) to view or manage additional sections.
- Click Close after reviewing.
- Select or highlight the project.
- Click on Other Details.
- Enter additional project information as needed.
- Click Save.
Expected Result
A new project is created and fully configured with basic and additional details, ready for execution and tracking.
Common Errors
- Not entering required fields (Short Code or Deadline)
- Forgetting to click Save after adding the project
- Skipping additional configuration in Other Details
- Not reviewing project after creation
- Leaving fields incomplete
FAQs
What is the Short Code used for?
It is a unique identifier used to track and reference the project.
Can I update project details later?
Yes, you can edit project details at any time.
Where can I add more project information?
In the Other Details section.
What happens after creating a project?
The project becomes available for tracking and execution.
Is the deadline mandatory?
It is recommended to ensure proper project tracking.