How to Add Client Details in Client Management (925Worksuite ERP)
Overview
This guide explains how to add and manage client details in the Client Management module within 925Worksuite ERP.
Adding complete and accurate client information ensures proper record keeping, billing, and communication across projects.
2. Steps
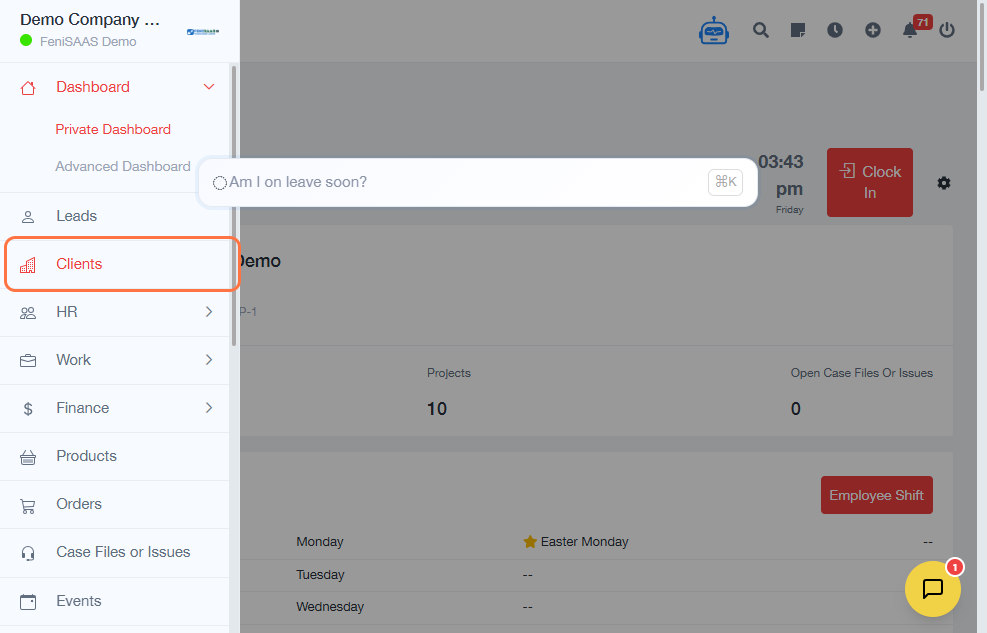
- Go to the Dashboard
- Click on Clients
- Click on Add Client
-
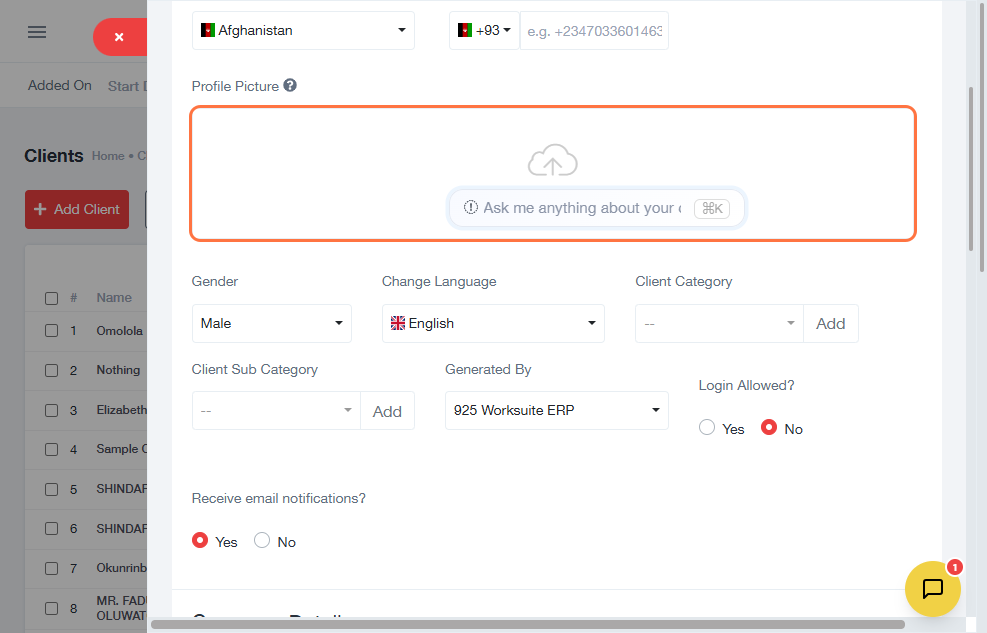
Enter basic client details:
- Client Name
- Mobile Number
- Email Address
- Upload a Profile Picture (optional)
-
Enter company information:
- Company Name
- Official Website
- GST/VAT Number
- Select the State
- Enter the Office Phone Number
- Enter the City
- Fill in address details:
- Company Address
- Shipping Address
- Postal Code
- Configure additional details (if applicable):
- Highlight settings
- Company Logo
- Blood Group
- Chapter
- Click Save
3. Expected Result
👉 The new client will be successfully added to the system and will appear in the client list for future use in projects, invoices, and communication.
4. Common Errors
• Missing required fields (e.g., Client Name or Email)
• Invalid email format
• Incorrect or incomplete address details
• Uploading unsupported file format for images
5. FAQs
Q: Can I edit client details after saving?
Yes, you can update client information anytime from the Clients list.
Q: Is the company information mandatory?
Some fields may be optional, but it is recommended to fill them for complete records.
Q: Can I add multiple clients at once?
This process adds one client at a time. Bulk import may be available via a separate feature.
Q: Why is my client not saving?
Ensure all required fields are filled and the data formats (like email) are correct.