How to Create Customer in Accounting Pro
Overview
This guide explains how to create a new customer in the Accounting dashboard. Adding customers allows you to manage client information, generate invoices, and track transactions efficiently.
Steps
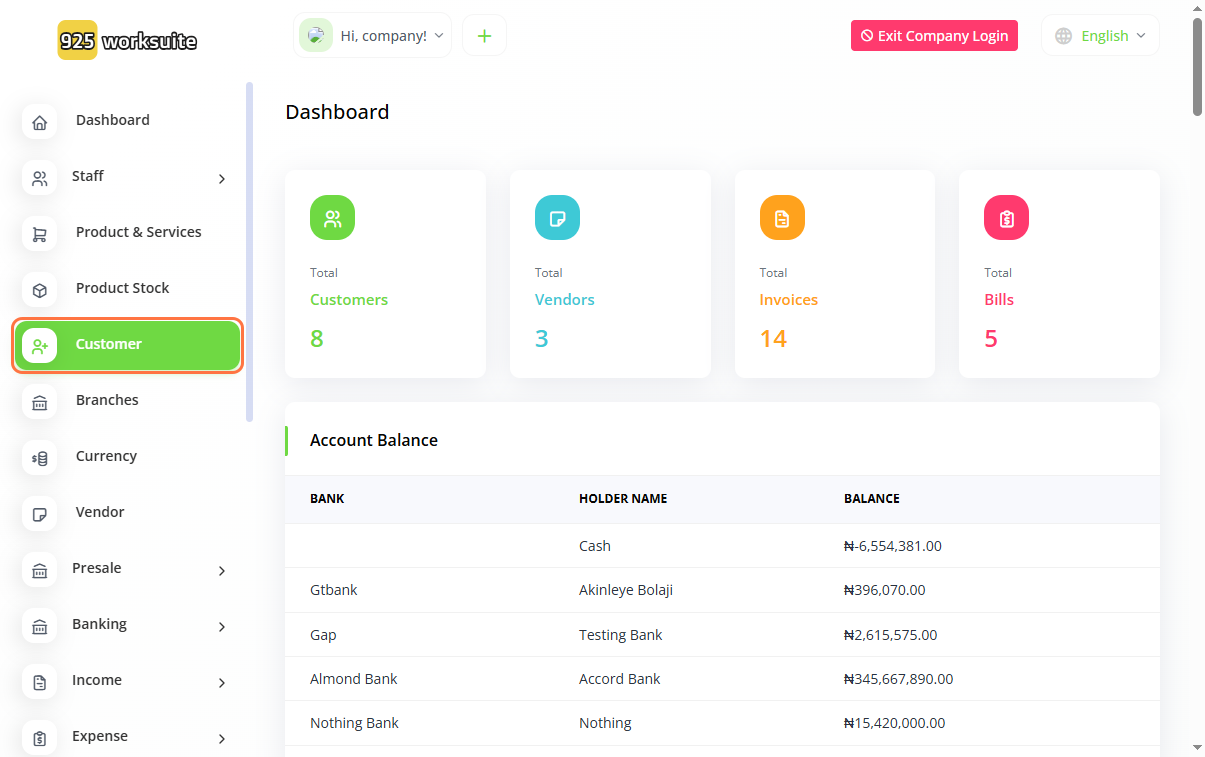
- Go to the Dashboard
- Click on Customer
- Click on Create
-
Enter login details:
- Input Email
- Enter Password
-
Add customer information:
- Enter Name
- Enter Contact Number
-
Provide additional details:
- Confirm or edit Email
- Enable Login Access (if required)
- Enter Tax Number (if applicable)
- Select Additional Options (e.g., special classifications if applicable)
- Input Billing Address
- Add Shipping Address
- Click Create
Expected Result
The customer will be successfully created and available for transactions such as invoicing, payments, and reporting.
Common Errors
- Entering an invalid or duplicate email address
- Leaving required fields empty (Name, Email)
- Not enabling login when needed
- Incorrect billing or shipping address details
- Forgetting to click Create
FAQs (Search Boost Section)
1. How do I add a customer in accounting?
Go to Customer, click Create, and fill in the required details.
2. Is an email required to create a customer?
Yes, email is typically required, especially if login access is enabled.
3. Can a customer log into the system?
Yes, if you enable the login option during creation.
4. What is the difference between the billing and shipping addresses?
The billing address is for invoices, while the shipping address is for deliveries.
5. Can I edit customer details later?
Yes, customer information can be updated anytime.