Knowledge Article
How to Create Role & Permissions in 925POS
0
0
Overview
This guide explains how to create and manage role permissions in 925POS. Role permissions allow you to control what each user can see and do in the system, ensuring proper access control and security.
Step-by-Step Guide
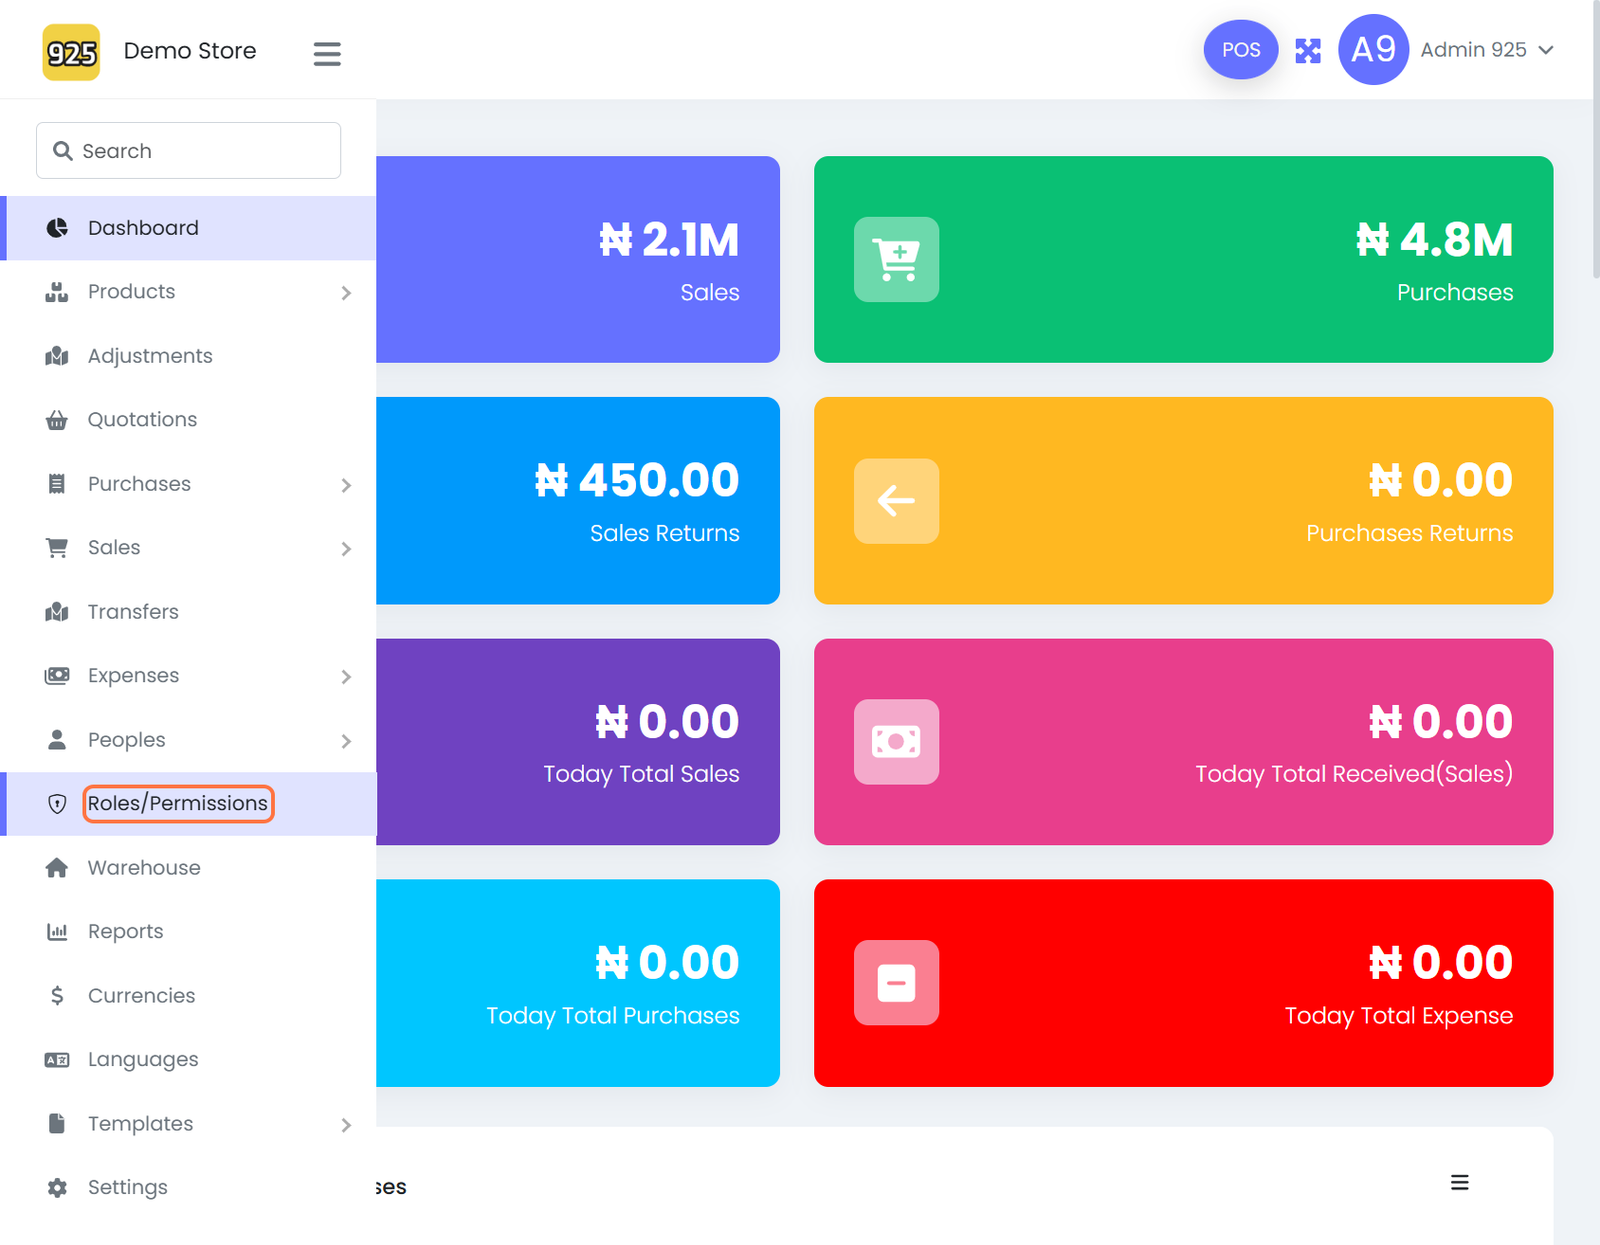
Step 1: Navigate to Roles/Permissions
- From the dashboard, click on Roles/Permissions
Step 2: Create a New Role
- Click on Create Role
Step 3: Assign Permissions
- Tick all permission boxes for the modules you want the user to have access to
Step 4: Select Specific Permissions
-
Choose relevant permissions such as:
- Manage Adjustments
- Manage Purchases
- Manage Sale Returns
- Manage Reports
Depending on the Designation of the User.
Step 5: Customize Access
- You can select as many options as needed, depending on the user’s role and responsibilities
Step 6: Save the Role
- Click on Save to apply the permissions
Step 7: Edit Existing Roles (Optional)
- Select an existing role (e.g., Cashier)
- Click on Edit to modify permissions
Best Practices
- Assign permissions based on job roles (e.g., cashier, manager, admin)
- Avoid granting full access to all users
- Regularly review permissions to maintain system security
- Use clearly defined roles to prevent confusion
Expected Outcome
After completing these steps:
- Roles are successfully created
- Users only see and access what is relevant to their role
- System security and workflow control are improved